Strandbeests are moving mechanical sculptures created by Theo Jansen with mesmerizing leg movements that organically flow with the wind. The beauty of their leg design and construction has inspired many to build robot walkers with similar gaits.
I've always wanted to build a Strandbeest robot, and after trying many projects on MakerWorld and Printables, I've come across two that I can recommend after building them with my kids. This post covers the first.
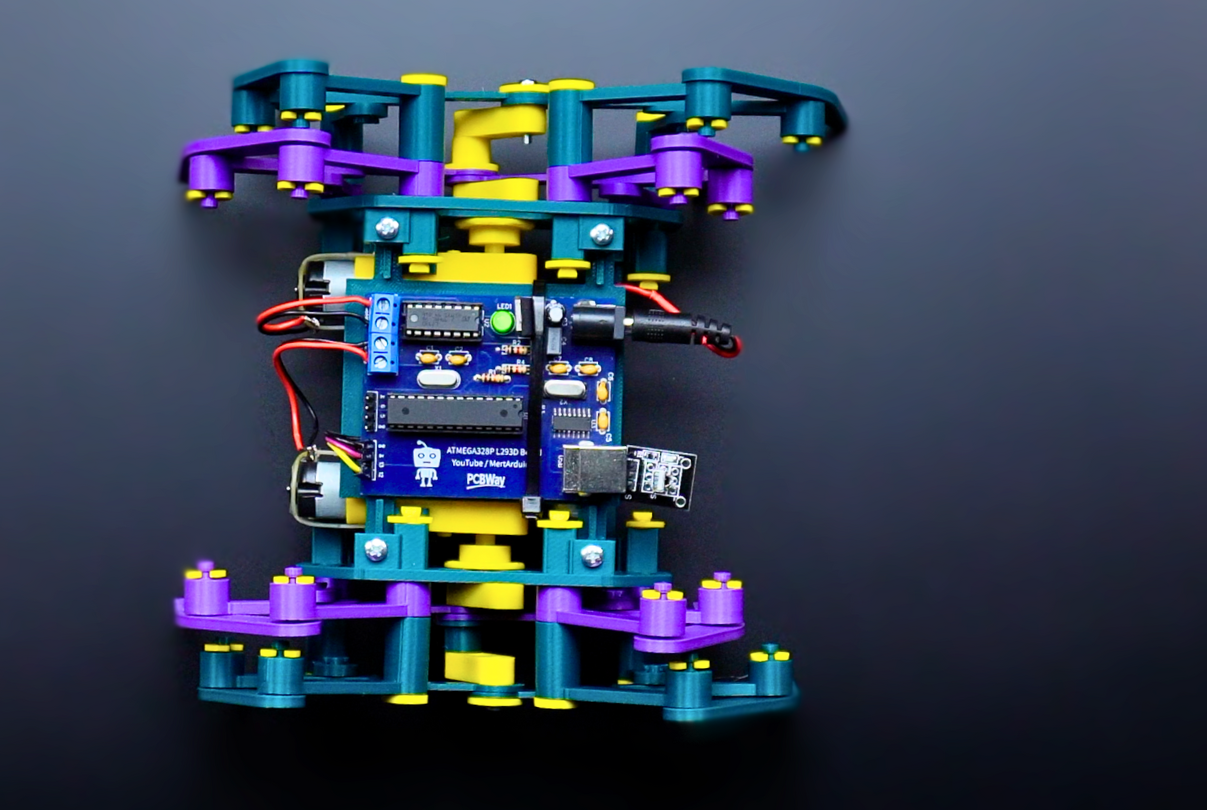
The first is a design by Turkish maker Mert Kilic:
Mert has many other easy-to-follow builds on his Instructables and YouTube channel. I recommend checking out his portfolio.
Our version of Mert's Octopod robot is named Spidey, and it's fast.
This is our first robot with a "brain" powered by the ESP32. While building the robot, we had to learn how to use a breadboard and connect the wires in the right pattern to move the robot. We also learned about H-bridges and motor drivers, though I don't think much of the H-bridge concepts stuck. The motor driver I used was a DRV8833. I used a USB power bank as the battery.
Using an ESP32 meant that we could control the robot via Bluetooth Low Energy using an iPhone. Phone control was a decision I later reversed, swapping in an IR remote so the kids could play without taking my phone and snapping random pictures.
One downside to this robot is that the legs would often get stuck because of the weight bearing down on the 3D-printed linkages. These incidents can be resolved by quickly switching direction back and forth, but they remain an annoyance if you want the bot to traverse large areas.
The kids got pretty rough with the robot and our breadboard circuit didn't last long. So I soldered a protoboard with an Arduino Mini and motor driver and stuck it inside the robot. In this next iteration, I also added ultrasonic sensing, and we talked about the basics of sonar and how animals use it to echolocate.

In this version, I replaced the phone app control with an IR remote so the kids could grab the robot and play at any time without needing me to unlock the phone.

The ultrasonic sensor gives the robot an autonomous mode where it backs away from obstacles and turns to try to go around them. However, autonomous mode only lasts until the leg linkages start sticking.
All in all, a great starter project and very easy to put together. This won't be our last Strandbeest. We'll carry these concepts forward to larger and smaller ones.